Why is white balance crucial in real estate photography?
The quality real estate photography does not improvise. Among the technical adjustments to be mastered, la balance des blancs plays an essential role in restoring natural and attractive colours. Whether you take the photos yourself or use a real estate photographer in Nice, well managing the white balance can transform the appearance of a good.
In summary:
What is the white balance?
The white balance consists of adjusting the colorimetry of an image so that the elements supposed to be white actually appear white, whatever the lighting. Our eyes automatically adapt to the color of the light, but a camera needs a precise setting to accurately reproduce the scene.
Each light source (sun, bulb, LED...) has a different color temperature, measured in kelvins (K). For example:
- Daylight: 5500 K (neutral)
- Tungsten bulb : 2700 K (very hot, orange)
- Cold LED: 6000 K (blue)
Without correction, these shades strongly affect the rendering of your photos.
Classic errors: yellow walls, cold or greenish atmospheres
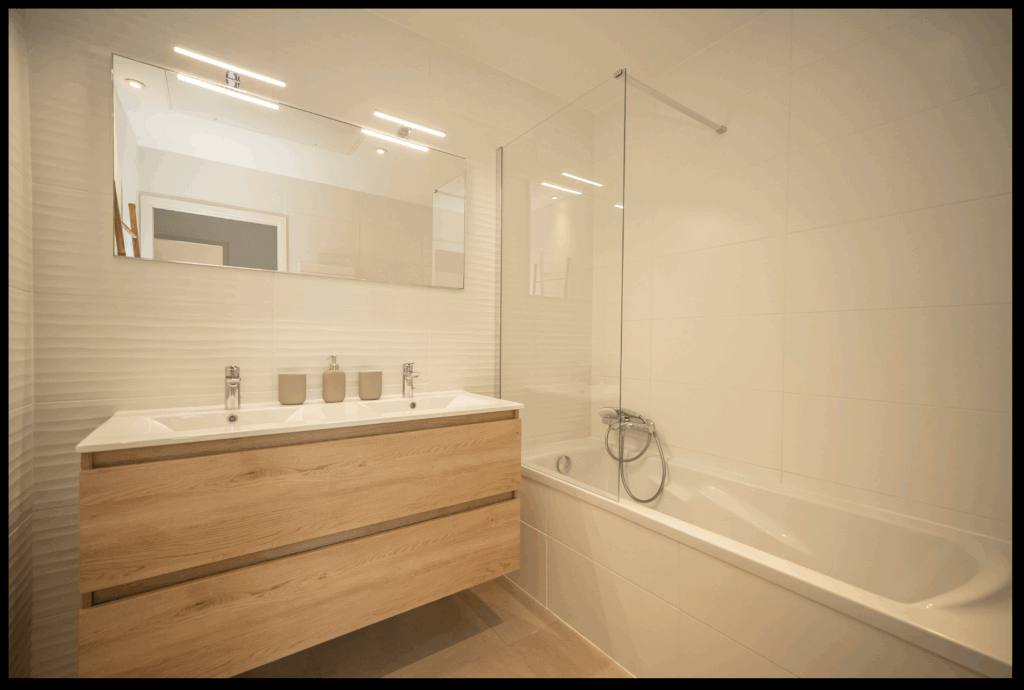
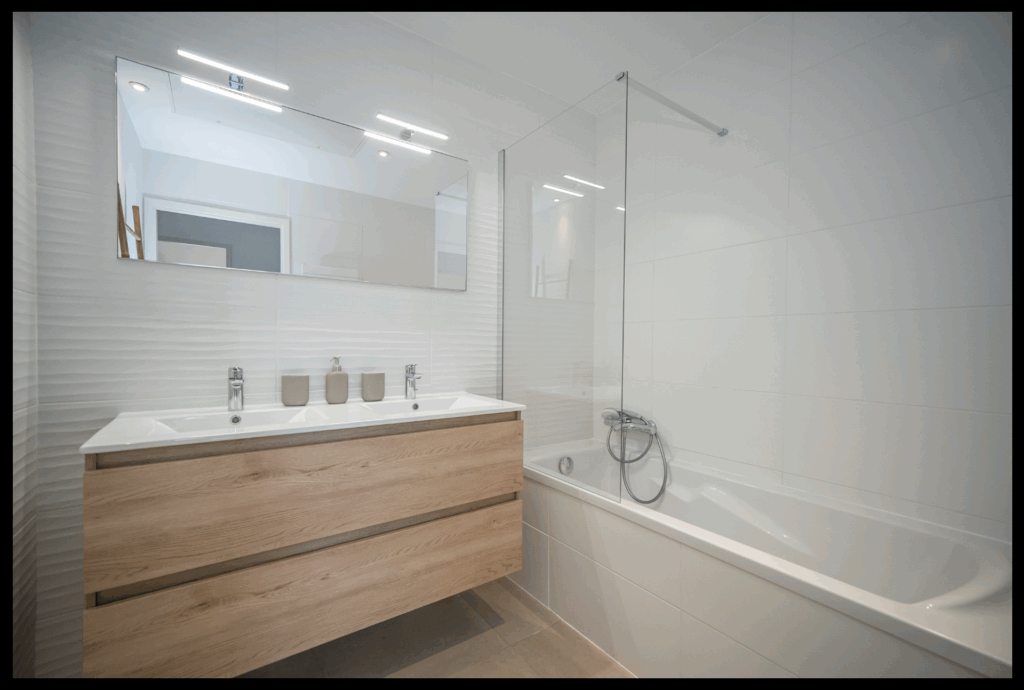
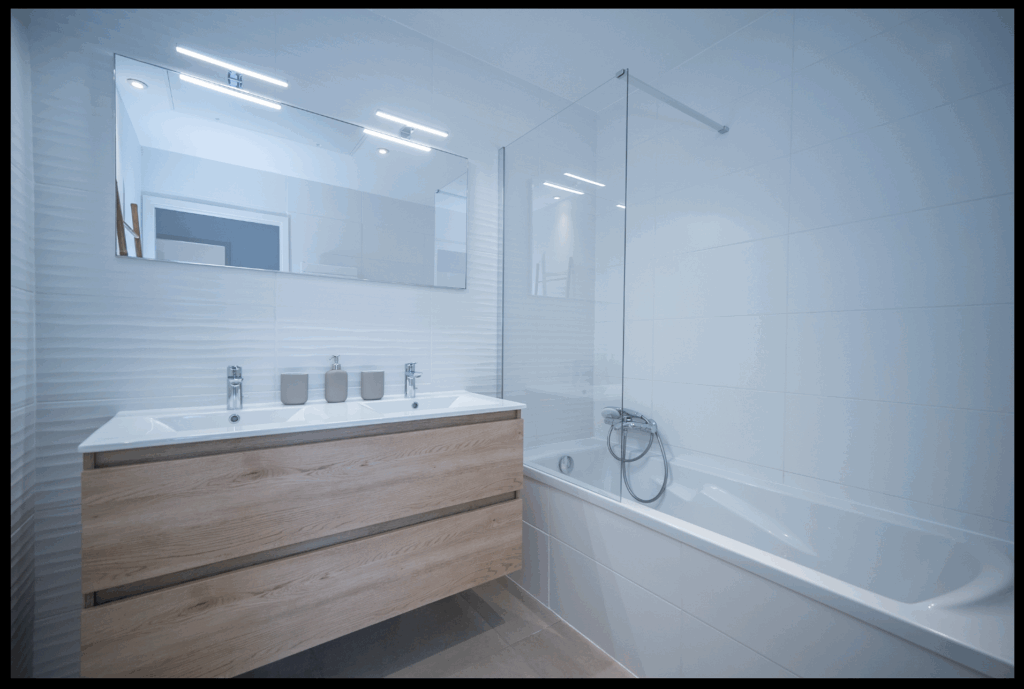
In real estate photography, a white wall that springs yellow gives an impression of an old or dirty room. A blue dominant can make an interior cold and impersonal. As for some fluorescent lights, they draw towards the green, which gives an unflattering sickly atmosphere.
These differences affect the perception of space. The potential visitor must be able to project himself in a clean, luminous and harmonious place. However, a poorly adjusted white balance can simply break this first impression.
Adjusting methods: automatic, manual or professional
1. The automatic white balance: practical, but imperfect
Most cameras and smartphones automatically correct the white balance (AWB – Auto White Balance). This setting sometimes works, but it is often wrong in the presence of several light sources. Result: photos too hot (drawing towards yellow) or too cold (drawing towards blue).
Modern smartphones do their best, but in an interior illuminated by both LEDs and daylight, their automation reaches its limits.
2. Manual presets and settings: better control
Some devices allow you to choose a predefined white balance: « Daylight », « Tungsten », « Cloudy », etc. It's a good start, but still need to know the dominant light source.
Even better, in advanced manual mode, you can set the color temperature in kelvins (e.g. 5500 K for daylight). This gives you greater precision.
3. RAW format and post-processing software
If you shoot in RAW, you can adjust the balance of the whites after the blow without loss of quality. In Lightroom or Photoshop, the WB pipette allows you to click on a neutral area (e.g. a white wall), and the software instantly corrects the coloured dominant.
You can then refine the setting with the sliders Temperature (yellow/blue) and Dye (magenta/green). It is fast, efficient, and essential for professional rendering.
4. Professional techniques: grey charter, calibrated flashes, HDR fusion
Professional photographers use tools such as:
- The neutral grey charters photographed at the beginning of the session
- The Deported flashes at calibrated colour temperature
- Technology merger of exposures (flaming method: flash + ambient light)
These methods allow a perfectly neutral colorimetry, homogeneous, and flattering for materials.
The limits of smartphones for real estate photo
Even the best smartphones have their limits:
- Sensor small = low dynamic = unstable colors
- Untrustworthy automatic balance in mixed atmospheres
- Compressed JPEG files = little correction margin
The result: photos often too yellow in the evening, or too blue in the day. And if the correction is misapplied, the image seems unbalanced, unnatural.
Some applications allow shooting in RAW on mobile (e.g. Halide, Adobe Lightroom Mobile), but this remains technical.
Why use a real estate photographer in Nice?
One professional real estate photographer in Nice save you time and quality:
- It will be able to detect and correct color dominants from the moment of shooting
- It has tools for perfectly neutral white balance
- He works on post-production images to ensure colorimetric consistency total
- He knows the lights of the south, the best time to photograph a good in Nice, and how to deal with local sunshine
In short, your photos will have a made realistic, attractive and professional, which increases your visibility and conversion rate.
Practical tips for improving the white balance
Here are some simple reflexes to adopt:
- Avoid mixed lighting (do not combine cold LEDs and hot lamps)
- Focus on natural light (light of the day, curtains open)
- Shoot in RAW if possible
- Use a retouch white balance pipette
- Always have a neutral object in the frame (white wall, white leaf, grey charter)
- Don't rely on the phone screen to judge colorimetry
- Form at the basics of the retouch (Lightroom, Photoshop, even simple settings can make all the difference)
And if all this seems too complex... entrust your photos to a professional. This guarantees a neat rendering, and peace of mind.
Conclusion
The white balance is often overlooked, but it is fundamental to creating a realistic and engaging image. In real estate photography, it directly impacts the perception of a good. Warm or cold colours, greenish tones or poorly controlled magentas can ruin the aesthetics of a space.
To put all the chances on your side, it is best to call on a real estate photographer in Nice who will be able to cope with the local light, correct the gaps, and restore a faithful and warm atmosphere.
Sources
- Adobe Help – Lightroom Classic – White Balance
- Phototrend – Understanding the white balance
- Capture One – Using a gray card for white balance
- Nikon France – White balance: instructions for use
- Illustration: By Bhutajata — Personal work, CC BY-SA 4.0,